
This guide will show you how to enable the Minimap on your Project Zomboid Server
Click here to order your Project Zomboid server with Citadel today!
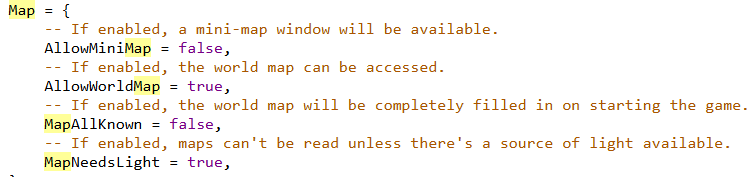
The minimap in Project Zomboid can be a useful navigation tool, helping players understand their surroundings, locate nearby buildings, and find their way through the game's dangerous environments. For multiplayer servers, enabling the minimap can make exploration more convenient, help players coordinate with friends, and reduce the difficulty of navigating unfamiliar areas. This can be especially beneficial for communities that prefer a more accessible survival experience rather than relying entirely on road signs, landmarks, and manually explored maps. Project Zomboid offers sandbox and server configuration options that allow administrators to customize various aspects of the gameplay experience, including certain map-related features. Depending on your server's configuration and game version, you may be able to control whether players can access the in-game minimap and how map-related features are made available. Adjusting these options lets you tailor navigation to your community's preferred balance between convenience, exploration, and survival difficulty. This guide will walk you through the process of enabling the minimap on your Project Zomboid server by modifying the appropriate sandbox configuration setting. You'll also learn how to save your changes, restart your server to apply the updated configuration, and verify that the minimap is accessible in-game. The relevant setting is AllowMiniMap, which controls whether the server permits players to use the minimap. Whether you're setting up a new server or updating an existing world, enabling the minimap is a straightforward way to customize navigation for your players. Before editing any configuration files, it's recommended to stop your server and create a backup of the relevant settings to help prevent accidental data loss.
Configuring Minimap Settings
1. Log in to your Game Control Panel.
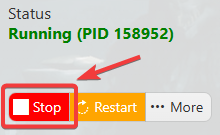
2. Before making any modifications, stop the server from running by clicking the Stop button.
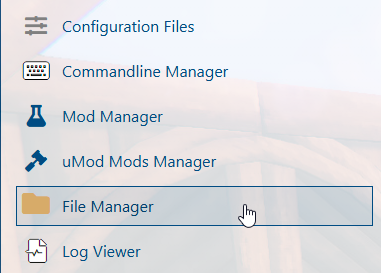
3. Navigate to the File Manager section.
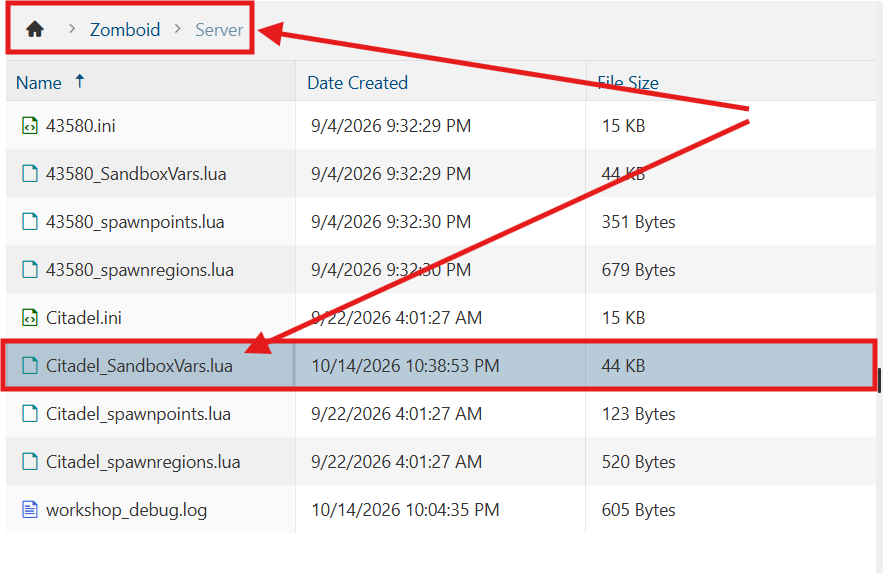
4. Navigate to the /Zomboid/Server directory and locate the [SaveName]_SandboxVars.lua file, replacing [SaveName] with the name of your server's save.
5. In the file, navigate to the Map section and adjust the Map Settings according to your preferences.
6. After editing, click Save to apply the changes.
You can now start playing on your server.
Did the above information not work for you?
Please click here to contact our support via a ticket.