
This guide will help you learn how to configure PvP Settings on your Hytale Server.
Click here to order your Hytale server with Citadel Servers today!
Player versus Player (PvP) combat is one of the most exciting aspects of multiplayer gameplay in Hytale. It allows players to challenge each other, test their skills, and create competitive experiences. However, not every server community wants the same level of combat intensity. Some servers thrive on friendly building and cooperation, while others focus on structured battles, mini-games, or all-out free-for-alls. Configuring PvP settings gives server administrators full control over how combat works in their world. By adjusting these options, you can decide whether PvP is enabled globally, restricted to certain areas, or customized with specific rules to fit your server’s vision. This flexibility ensures that your players enjoy the type of experience you want to provide, whether that’s peaceful collaboration or thrilling competition. In this guide, we’ll walk through the steps to edit and configure PvP settings on your Hytale server. By the end, you’ll know how to tailor combat rules to match your community’s style and keep gameplay balanced and fun.
Configuring World PvP Settings on your Hytale Server (Console)
1. Log in to your Game Control Panel and navigate to your service.
2. Navigate to the Web-Console Tab.

3. In the Web-Console tab, enter any desired command:
/world list |
Displays the currently loaded worlds. |
/world config pvp true --world <worldName> |
Enables PvP on the desired world. |
/world config pvp false --world <worldName> |
Disables PvP on the desired world. |
Managing World PvP Rules via Hytale Server Files
1. Log in to your Game Control Panel and navigate to your service.
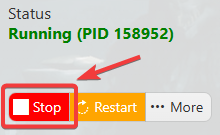
2. Before making any modifications, stop the server from running by clicking the Stop button.
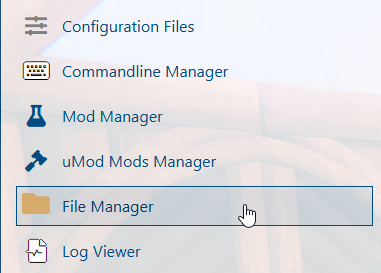
3. Navigate to the File Manager Tab.
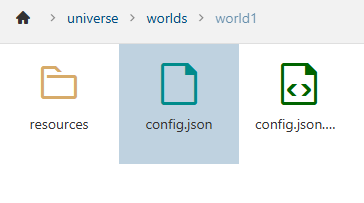
4. In the File Manager, follow this directory path /home/universe/worlds/(chosen world)/config.json and double-click it.
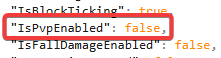
In the file, look for the IsPvpEnabled, and change the value based on your preferences.
5. After editing, click the Save button to apply the changes to your server.

Did the above information not work for you?
Please click here to contact our support via a ticket.
