
This guide will show you how to add a custom map to your ARK: Survival Evolved server.
NOTE: You should stop your server before making any of these changes to it.
Downloading the map
We recommend using the ARK Remote to download the map to your server.
If you haven't already installed ARK Remote on your server, click here to check out our guide on installing it.
After you've installed the ARK Remote to your server, connect to it.
The guide linked above will explain how to connect to your server through the ARK Remote as well.
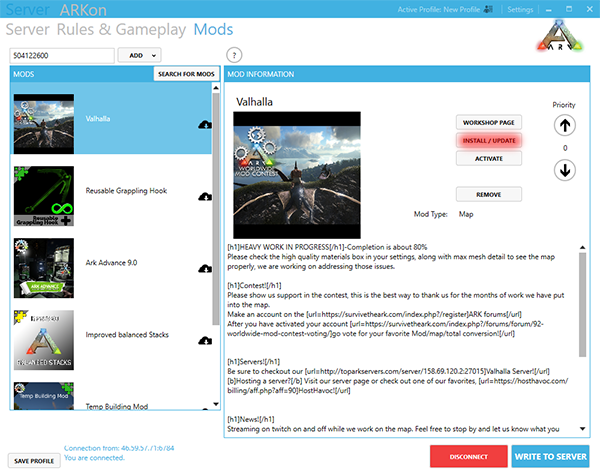
Navigate to the "Mods" tab in the ARK Server Launcher.
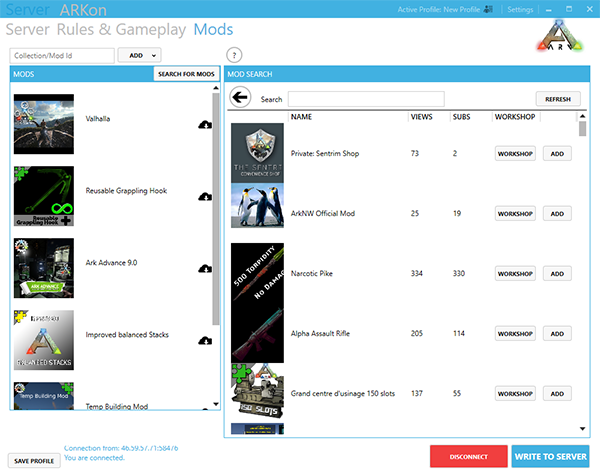
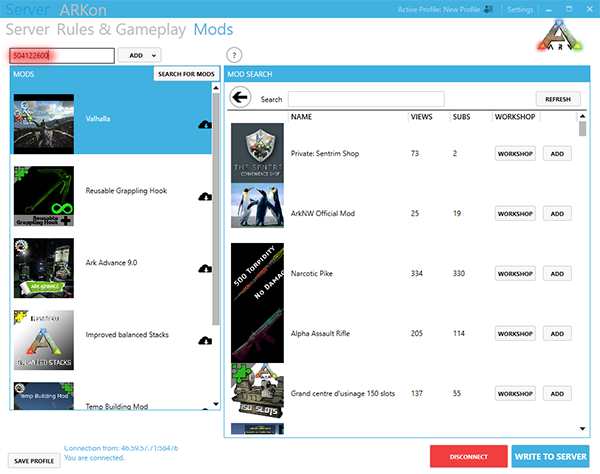
Add your map's workshop ID to the "Collection/Mod Id" box.
In this guide, we will be adding the map "Valhalla" as an example.
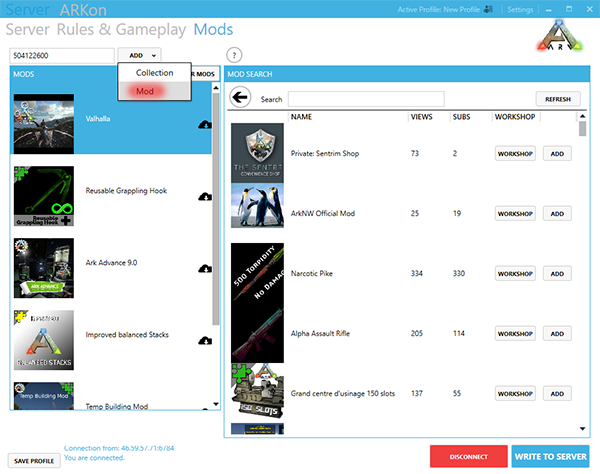
Click on "ADD" and choose "Mod".
Alternatively, you can also search for the map under "MOD SEARCH".
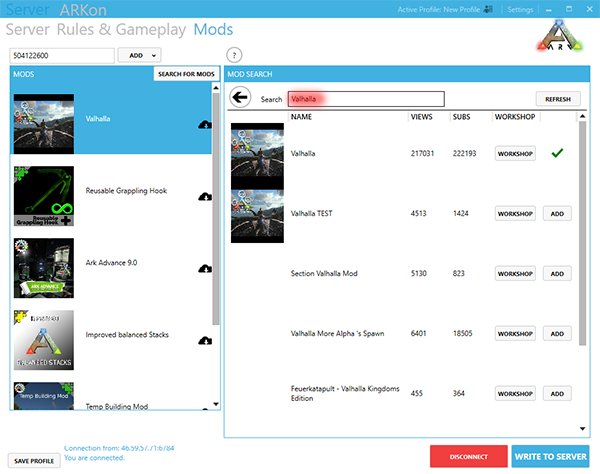
Once you've found the map, click "INSTALL / UPDATE".
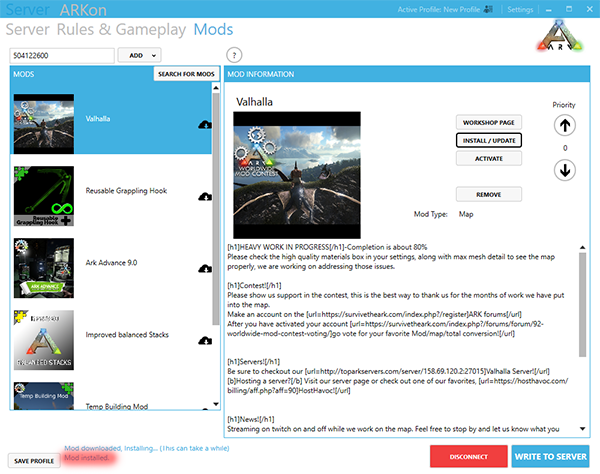
You'll then see the map downloading to your server.
After it has finished downloading, you should see a message in the activity box at the bottom of the window saying "Mod installed".
You've now downloaded the map to your server and can proceed with adding it to your command line.
Adding the map to your command line
Head over to your Game Panel, and navigate to the "File Manager".

Once there, go to "ShooterGame\Content\Mods\".
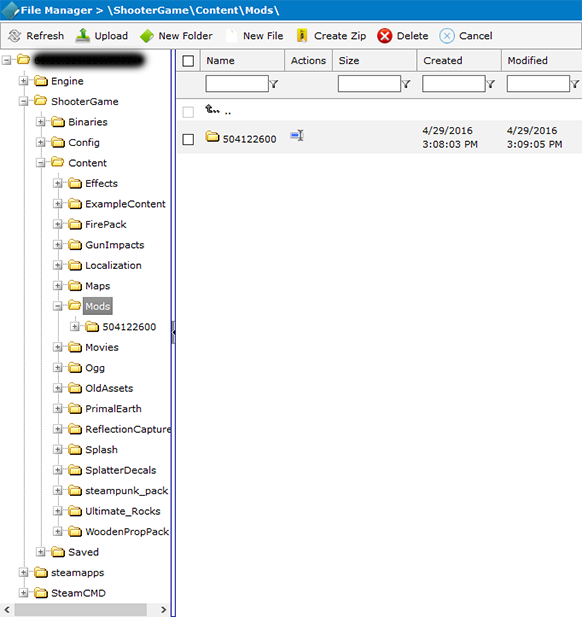
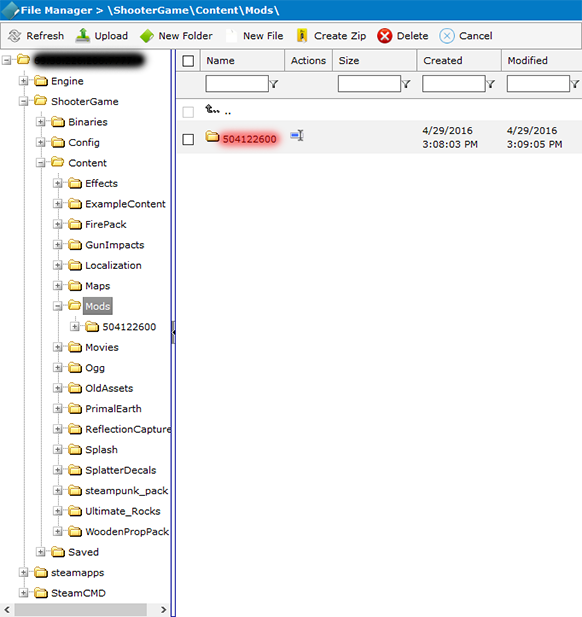
Copy the name of your map's folder, this is the same as your map's workshop ID.
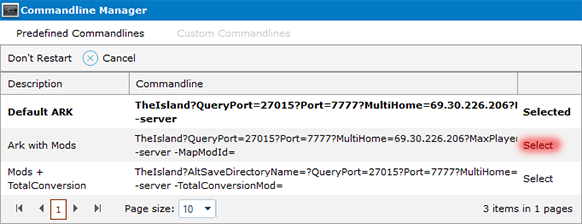
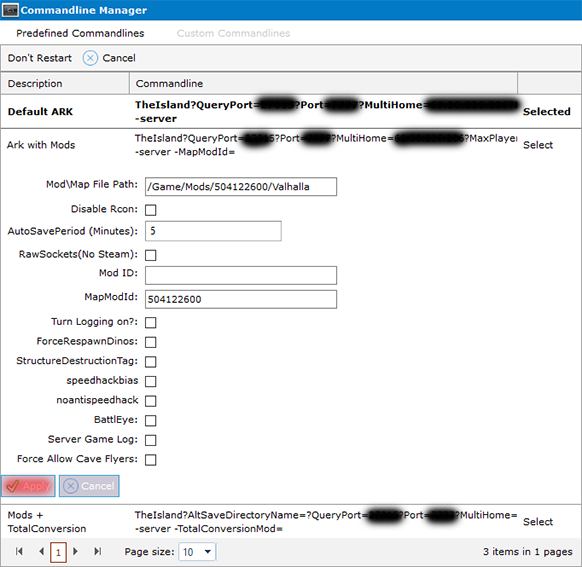
Next, you'll want to navigate to your "Commandline Manager" in your control panel.
Select the "Ark with Mods" command line.
Enter the path to your map to "Mod\Map File Path". It should look something like this:
/Game/Mods/504122600/Valhalla
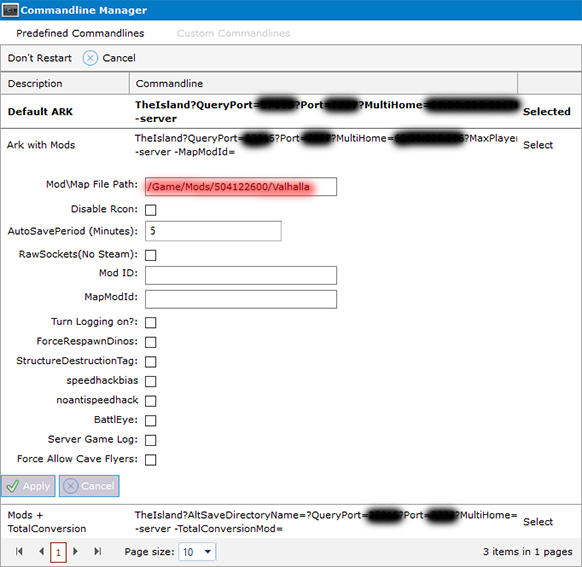
The path to your map might look a little different.
"504122600" is your map's folder name/workshop ID that you copied earlier, and "Valhalla" is the name of the map.
To double check, the name of your map, navigate to your map's folder (in this case it's "ShooterGame\Content\Mods\504122600" in the "File Manager")
And check the name of your map's ".umap" file.
This is the name of your map that you should include in your command line.
Next, you'll want to add your map's folder name/workshop ID to "MapModId".
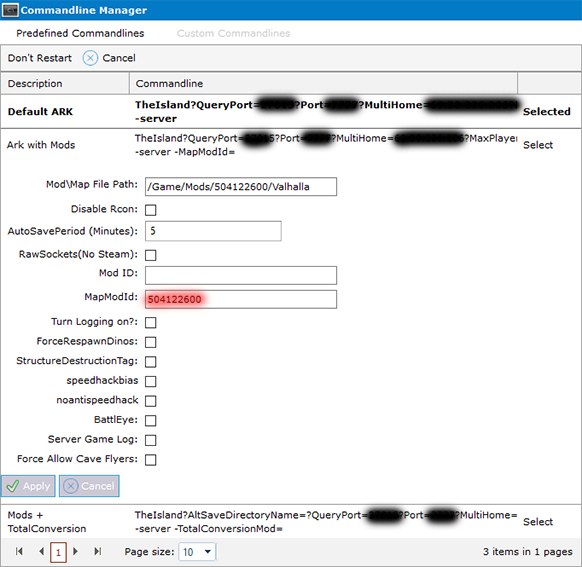
And that's it, press "Apply" to save your changes.
The next time you start your server it should be using the custom map of your choosing.
Did the above information not work for you? Please contact our support via a ticket.
Notes on Bugs\Issues:
You will not be able to directly edit the command line with this utility.
You will see a warning upon connecting regarding this, it can be ignored.
Mods shown in the 'Mods' tab as installed have no effect on the server.
If you see some in there which you do not want and they keep appearing, they can be ignored.
This is a bug in the application.
Mods will only affect the server if their files are present in the server's "Mods" folder or being activated by the command line.
If your application crashes when you access the mods tab please see here for a fix
